
Floor sanding and polishing are great ways to preserve your hardwoods as well as adding a lovely shine. If you wish to keep your wood floors looking beautiful and comfortable without any toxic substances, then you can just sand and polish whenever you feel like giving it a little bit of attention. The finish of even the best types of wood floors is sacrificial, and eventually, it needs a new coat of polishing to restore the luster that comes with that new floor. Refinishing takes off just a tiny layer of the wood in your floorboards, like we said; due to this process, you will only refinish your floors so many times before you just run out of wood to smooth out, or the boards get so thin that they are liable to break.
The hardwood floor refinishing process is easier and less costly than sanding to bare wood, and takes less time. Polishing rejuvenates those parquet or hardwood floors that are looking a little dingy, but that do not need full sanding and sealing.
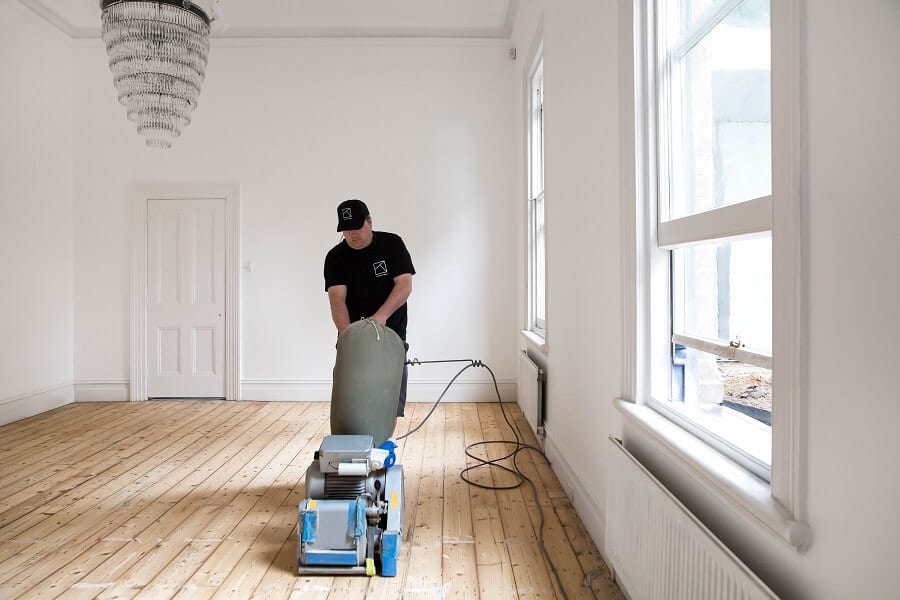
If your floor is in good structural condition, consider resurfacing before tackling the full sanding. Once you have cleared out your room of smaller items and furniture, begin to screen out areas of your room that are not being sanded. Now, walk through the room and smooth out all the initial floor covering left behind from your sander. Once you have cleared the room and floors, and added a box fan to provide ventilation in the open windows (so that the dust is pulled from the room), you are ready to begin the sanding.
You can sweep your floors with a vacuum cleaner to get rid of all dust and debris, as well as using a wet mop to get all that off of your wood floors. Start to sand down your floors using a really coarse sandpaper to get rid of old coats of polish and smooth your floors. If you have some very, very uneven floorboards, you will want to start sanding diagonally (with a big drum sander) to really smooth the floor and then switch to sanding the boards direction. If your floorboards are really uneven, or painted in thick coats of paint, then it is probably best to start sanding the floor with a 16-grit sandpaper.
You are likely going to be using the detailing sander to finish the corners of your rooms, so if you are tempted to see if hand-sanding floors is feasible, try it out on the corners that you are going to be using the detailing sander on anyway.
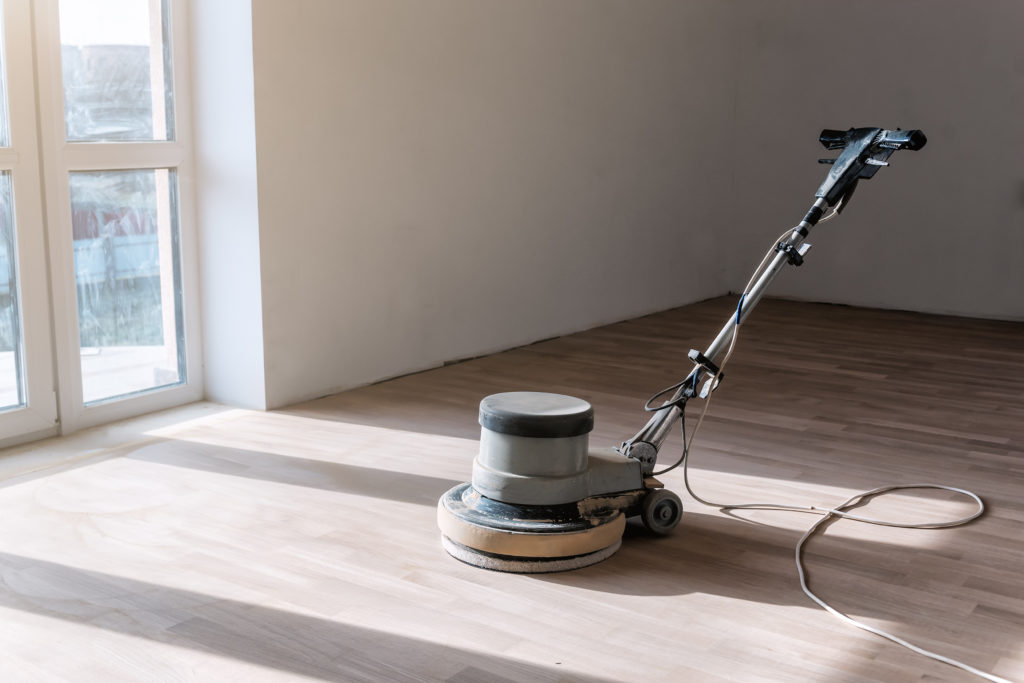
Move to a medium-grade sandpaper for additional polishing before deck coating, and a special tool called an edge sander for flooring will be used on difficult-to-reach edges the basic floor sander cannot get at.
Fine grade sandpaper is used to finely smooth out wood surfaces, as well as polishing off any excess floor filler. After this initial sanding process, punched holes are filled in with floor filler to provide a smooth surface free of holes. Edge-finishing is a process that uses a small grinding machine to flatten boards in areas near walls, as well as provide a smooth finish on the core section of a new floor.
Starting with a coarse-grade sandpaper, the floor sander will be used to smooth away existing finish, coatings, stains, and finishes on a floor. Keep in mind floor sanding is a three-step routine (sometimes four, if you are looking to also re-stain the floor), and you will have to hire a floor edge sander, drum sander, and then go through the polishing process. The process is the same every time: Empty your room, ensure that floorboards are not damaged, and the floor is secure and stable, sand the main floor of your room with the drum sander, use the edge sander on the outside edges of your room, and then finish by cleaning it up and applying stain, oil, or paint. Since polishing is the last step in the sanding process before finishing, you should already have taken your floor through a series of sanding grades.
Buffing, the last step in a hardwood flooring sanding sequence, is designed to produce a surface suitable for final finishing, by leveling the floor and removing any imperfections left behind from a floor drum or belt-driven sander, as well as edger. Buffing works similarly to staining, however, instead of stripping away a thin layer of wood to prep it for a new oat of stain and sealant, buffing eliminates minor scratches and materials that can dull a wood floor. Buffing and liquid polishing will also eliminate or cover minor scratches and nicks along the surfaces of your wood floors, but they cannot always repair deeper or larger scratches.
If your wood floors are finished with a penetrating finish like tung oil, then a wax coat should be added instead of buffing or polishing. While proper cleaning and polishing will keep wood floors looking shiny and new, sometimes hardwood needs to be refinished. Modern, prefinished hardwood is sprayed in factory, and it will last between 10 to 30 years.
Some engineered floors are suitable for sanding and refinishing, but not all are — typically, it takes several feet of laminate flooring to go through a few finishes before you should think about sanding and refinishing, perhaps trying in an under-the-curtain area first, such as the base of the cupboard. In some cases, it is possible to resand and then apply new polyurethane finishes to resuscitate a floor, not technically needing to sand down the underlying timber. If scratches have not penetrated the wood completely, you may want to use a buffer to lightly sand my oak floors, then add a new coat or two of finish. After you have gone through the sanding process, your floor is ready for a new look.


